Outfitted with a milling bur, a milling machine or CNC router is an asset for a wide range of tasks. Able to be changed in shape and size, these burs can serve multiple purposes, including carving out 3D shapes and designs. As this article delves into, knowing how to use a milling bur in a CAD CAM milling machine can unlock greater levels of creativity and excellence to any project.
When it comes to machining and cutting, milling burs are a powerful tool. Composed of a hard-wearing carbide metal, these burs can be employed to carve into wood, plastic and metal alike. It’s therefore key to identify the correct size and shape to suit the exact material being used.
When it comes to plunging or milling operations, the right type of bur has to be chosen. Various shapes of burs are available in the market; the most popular options being ball, cone, and flame types. Ball burs are the go-to choice for most milling works as they can perform a wide range of duties. For more specialized operations, cone burs are a preferred option, while for cutting plastics and other soft materials, flame burs can come in handy.
When milling, the right bur for the job is paramount. Connect it to the machine, be it a milling machine or a CNC router, and key in the speed and depth; after that, you are ready to start the milling journey.
When crafting with a CAD CAM milling machine, milling burs are a must-have tool. By picking the right one and using it properly, you can bring your vision to life and create shapes and designs that perfectly reflect your project.
Related Product
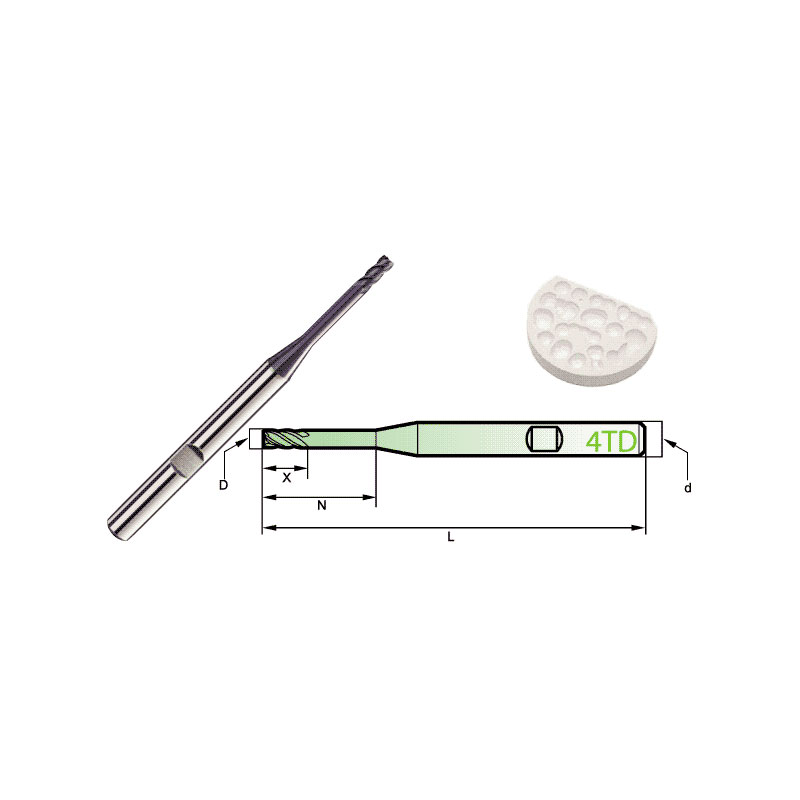
Carbide Roland CAD/CAM Burs
Product Information Origin Tianjing, China Brand MSK Number Of Blades 4 Product Name Dental Special 4-Blade End Mill Model D Number Of Blades Z X N L d 4TD2060HB 2 4 […]
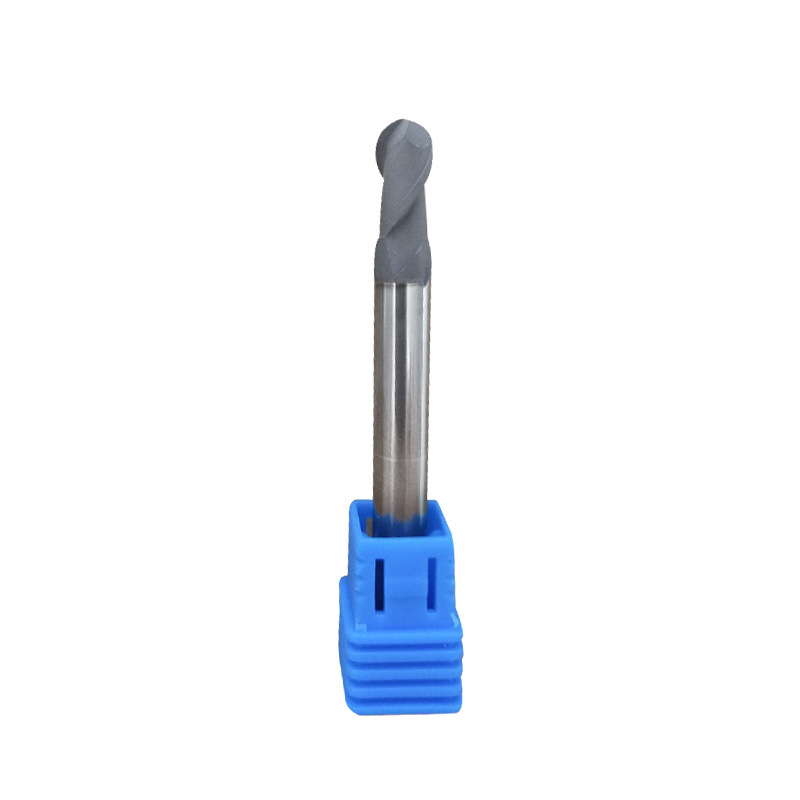
Diamond Coating Round Diamond Cutters
Product Information Origin Tianjing, China Series U Series Brand MSK Cutting Edge Form Helical Structure Ball Diameter (Mm) 3 Material Carbide Minimum Cutting Diameter At Th […]
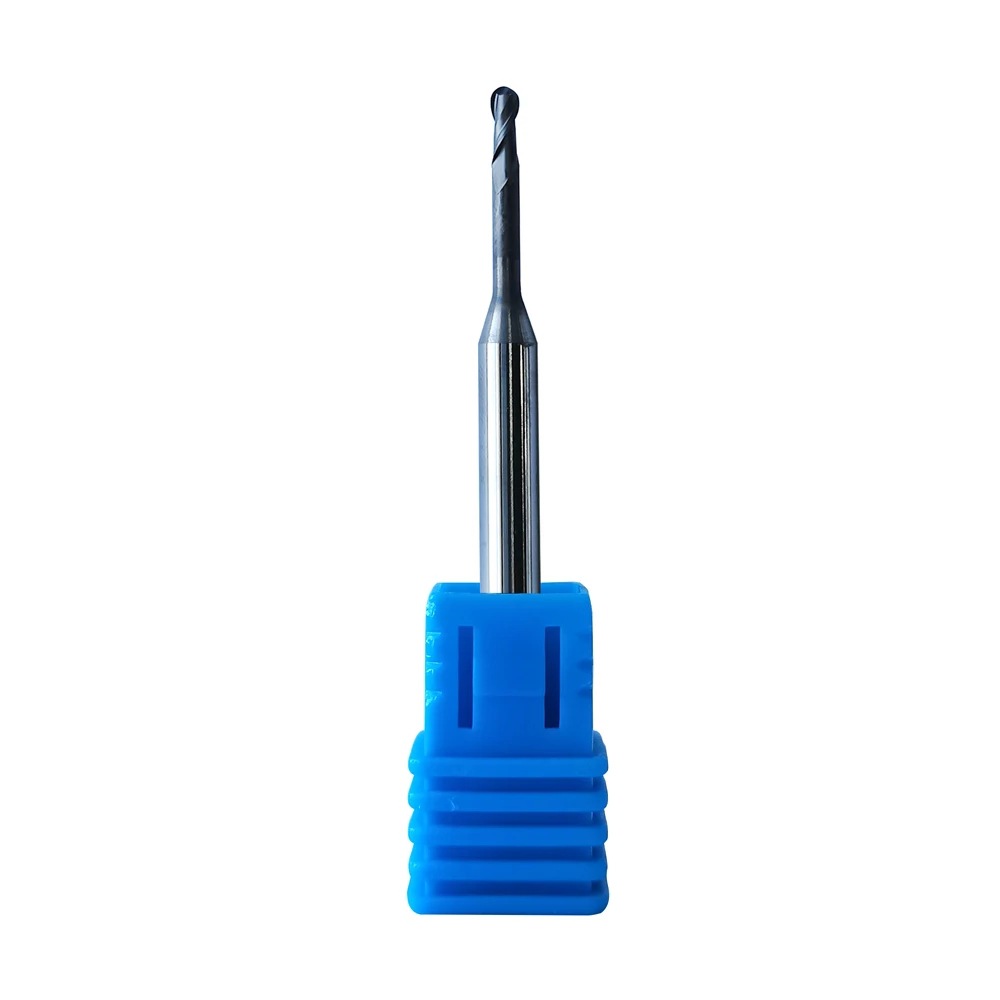
Supply Roland DLC Zirconia Burs
Product Information Origin Tianjing, China Series Dental Bur Brand MSK Cutting Edge Form 2 Blade/3 Blade Ball Diameter (Mm) 0.6, 1, 2 Material Very Fine Grained Cemented Car […]
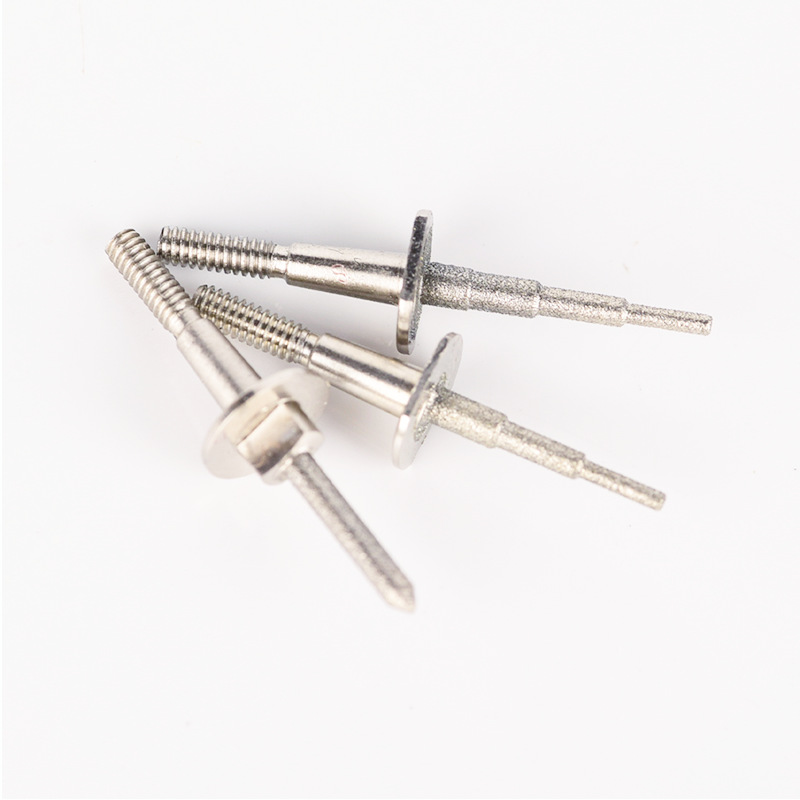
Step Bur Milling Bur Grinder for Glass Cerami
Product Information Origin Tianjing, China Shank Diameter 1.8 (mm) Brand MSK Scope Of Application CEREC3 Grinding Equipment Material Stainless Steel/Carbide Main Sales Areas […]
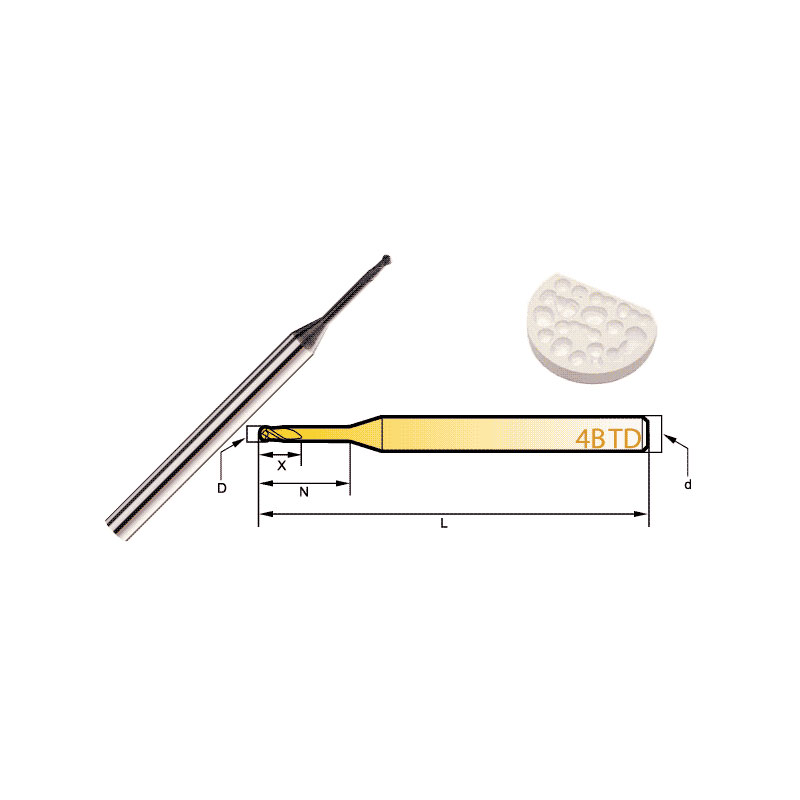
Diamond Bur Ball Round
Product Information Product Name Dental 4-Flute Ball End Mill Brand MSK Model D Number Of BladesZ X N L d 4BTD2060 2 4 6 6 50 3 4BTD2010 2 4 6 10 50 3 4BTD2016 2 4 6 […]
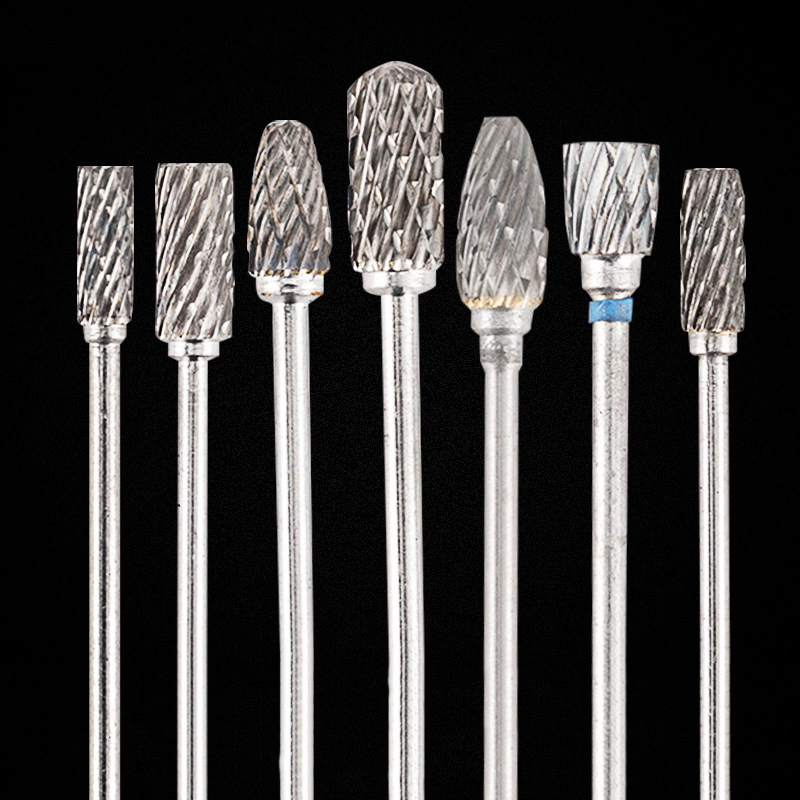
HP Deburring Carbide Burs
Product Information Brand MSK Material Tungsten Steel Model Grinding Head Custom Processing Yes Feature: The dental grinding head is made of tungsten steel with stabl […]
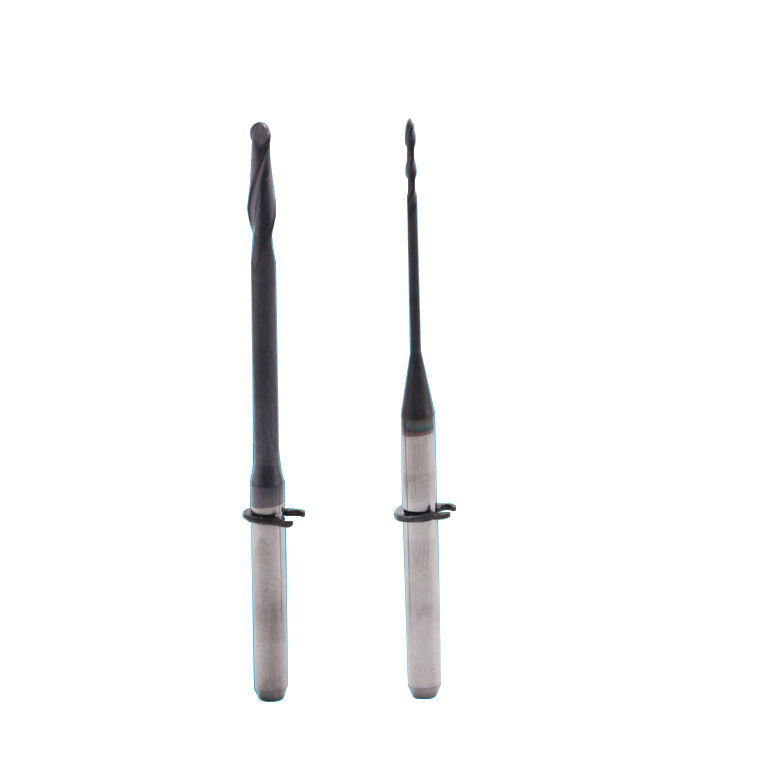
Dental CAD/CAM Milling Burs
Product Information Origin Tianjing, China Material Stainless Steel Brand MSK Applicable Machine Tools A Variety Of Options Custom Processing Yes Whether To Coat No Is It a […]
Post time: 2023-06-19
