A diverse array of carbide rotary burrs can enhance any project — from fine finishing to power-driven rust removal. Available in a range of sizes and shapes, these cutting tools can be powered by a drill, die grinder or other tooling device.
Figuring out the right carbide rotary burr for the task at hand requires carefully assessing the material you are working with and the end result you intend to produce. If it is a soft metal like aluminum you are working with, opt for a rotary burr with a gentler cutting edge. However, when dealing with harder substances such as steel, it’s best to pick an option with a more cutting-edge edge to tackle those tougher jobs.
When it comes to carbide rotary burrs, cylindrical burrs are the most widely used and generally serve a variety of functions. Furthermore, cone-shaped and ball-shaped options exist if you need more precision, in say, removing material from the depths of a hole.
To get going with a carbide rotary burr, begin by placing the device into your power tool. If you’re using a drill, ensure it is set to rotate in the clockwise direction. Next, with the power tool turned off, press the burr’s tip firmly against the workpiece.
Get the power tool ready and start cutting by placing the burr against the workpiece. Apply pressure to ensure that the burr pierces the object. Pass the burr over the surface of the workpiece in an oscillating or round motion, according to what’s needed.
As the burr begins puncturing the surface of the material, it’s important to equip yourself with safety goggles and a face mask to defend yourself against the accumulation of dirt particles and minuscule fragments as a result.
Upon completion, switch off the power tool and detach the carbide rotary burr. Give the workpiece a thorough examination to search for any areas that could benefit from a little additional attention, and use a file or other appropriate instrument to refine any harsh edges.
Related Product
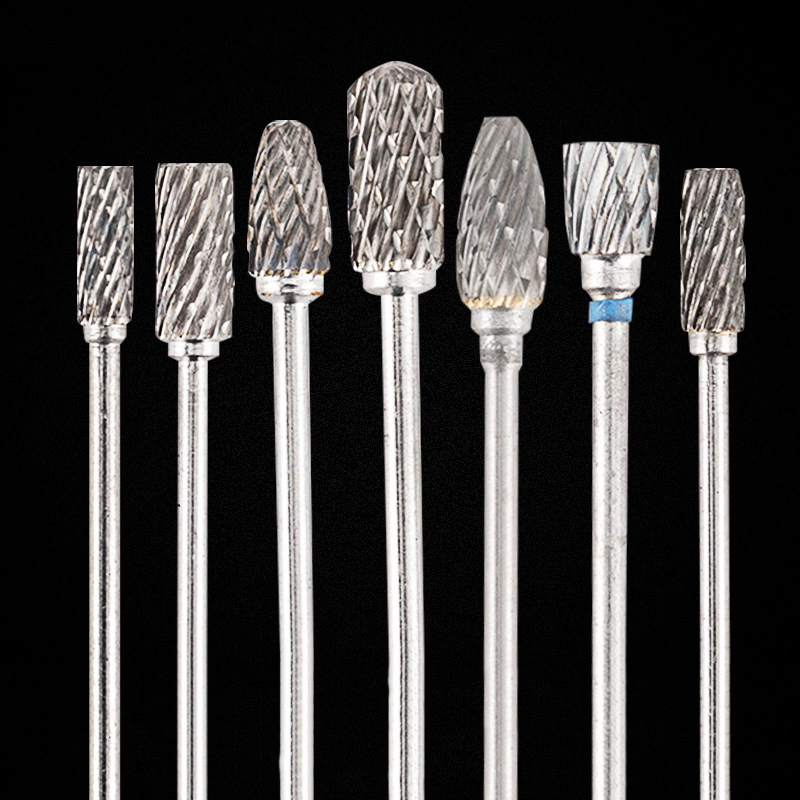
HP Deburring Carbide Burs
Product Information Brand MSK Material Tungsten Steel Model Grinding Head Custom Processing Yes Feature: The dental grinding head is made of tungsten steel with stabl […]
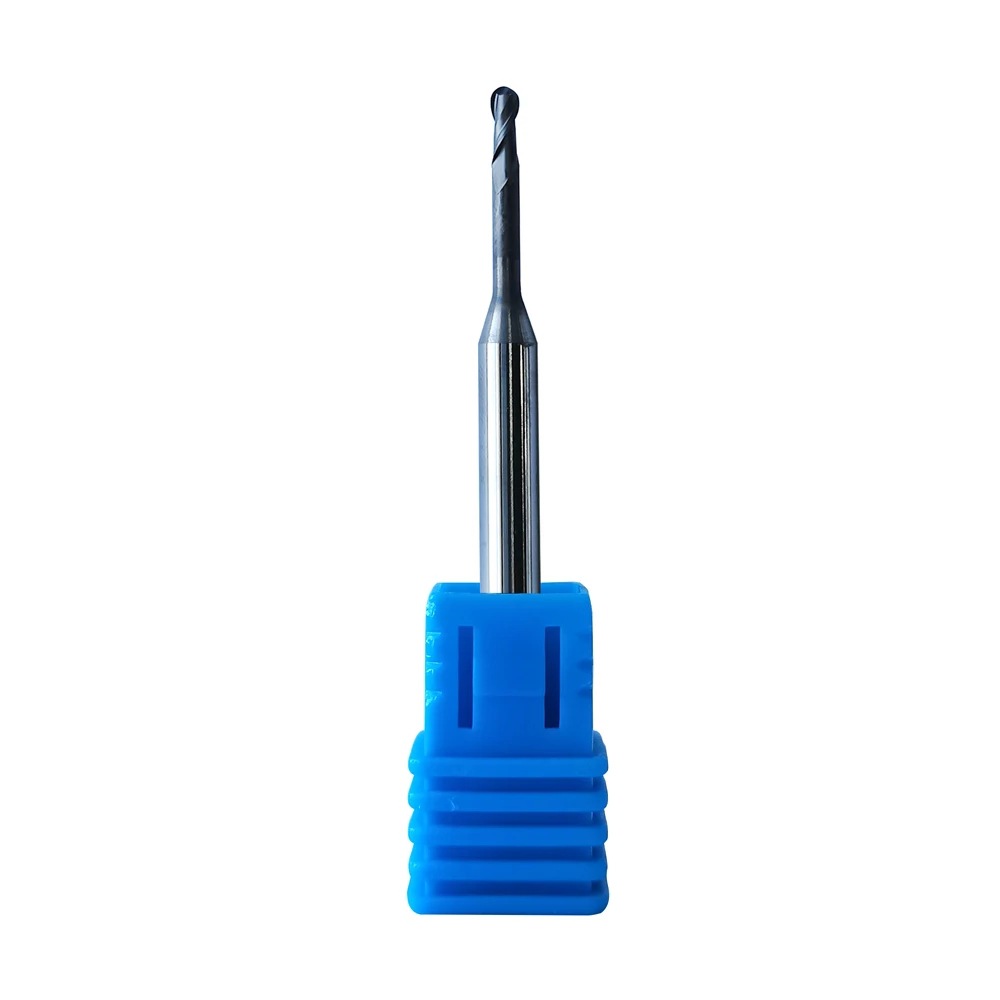
Supply Roland DLC Zirconia Burs
Product Information Origin Tianjing, China Series Dental Bur Brand MSK Cutting Edge Form 2 Blade/3 Blade Ball Diameter (Mm) 0.6, 1, 2 Material Very Fine Grained Cemented Car […]
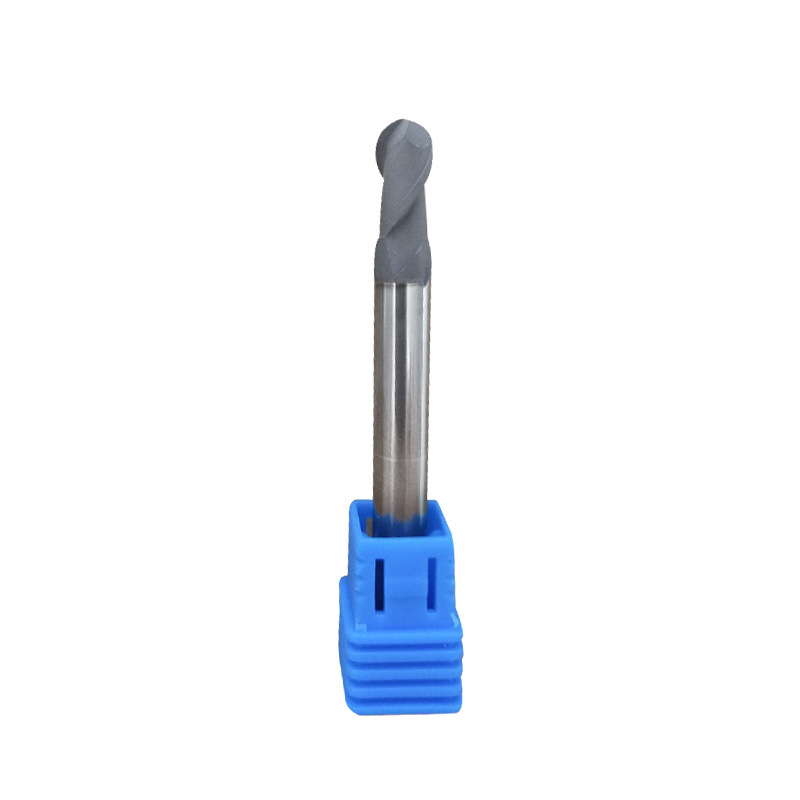
Diamond Coating Round Diamond Cutters
Product Information Origin Tianjing, China Series U Series Brand MSK Cutting Edge Form Helical Structure Ball Diameter (Mm) 3 Material Carbide Minimum Cutting Diameter At Th […]
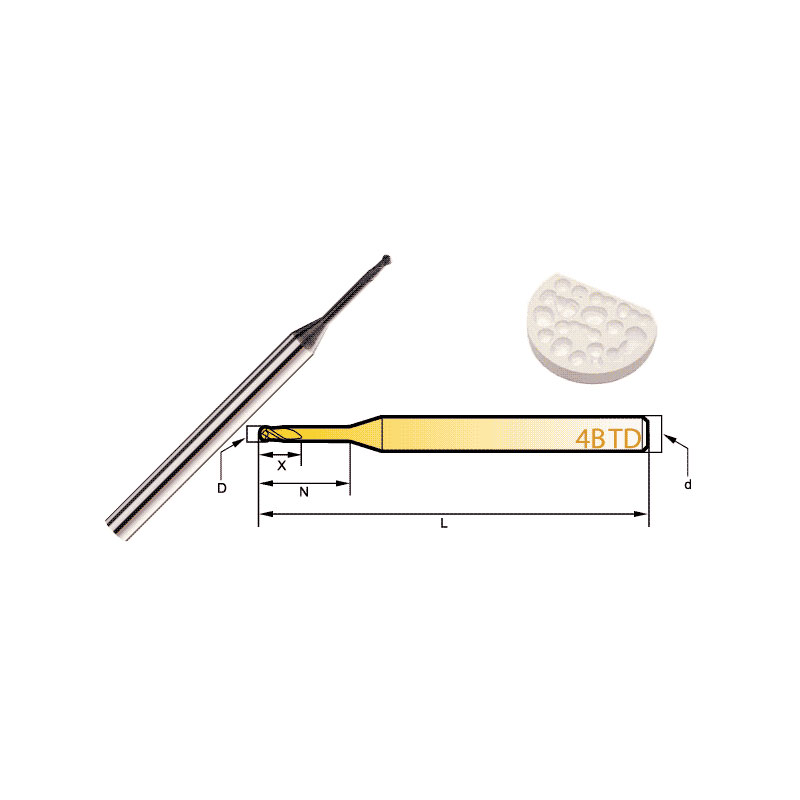
Diamond Bur Ball Round
Product Information Product Name Dental 4-Flute Ball End Mill Brand MSK Model D Number Of BladesZ X N L d 4BTD2060 2 4 6 6 50 3 4BTD2010 2 4 6 10 50 3 4BTD2016 2 4 6 […]
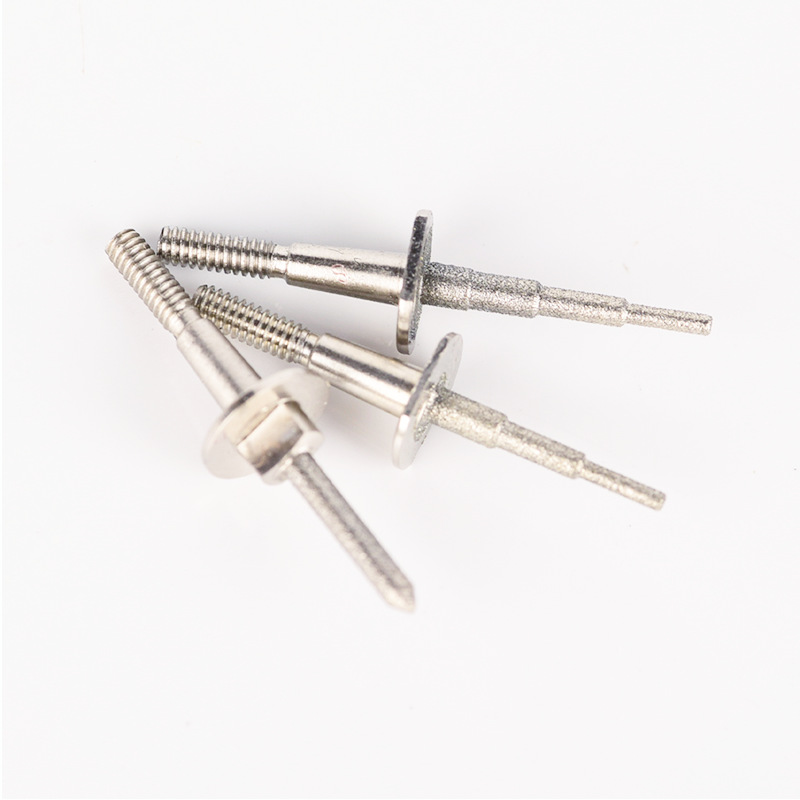
Step Bur Milling Bur Grinder for Glass Cerami
Product Information Origin Tianjing, China Shank Diameter 1.8 (mm) Brand MSK Scope Of Application CEREC3 Grinding Equipment Material Stainless Steel/Carbide Main Sales Areas […]
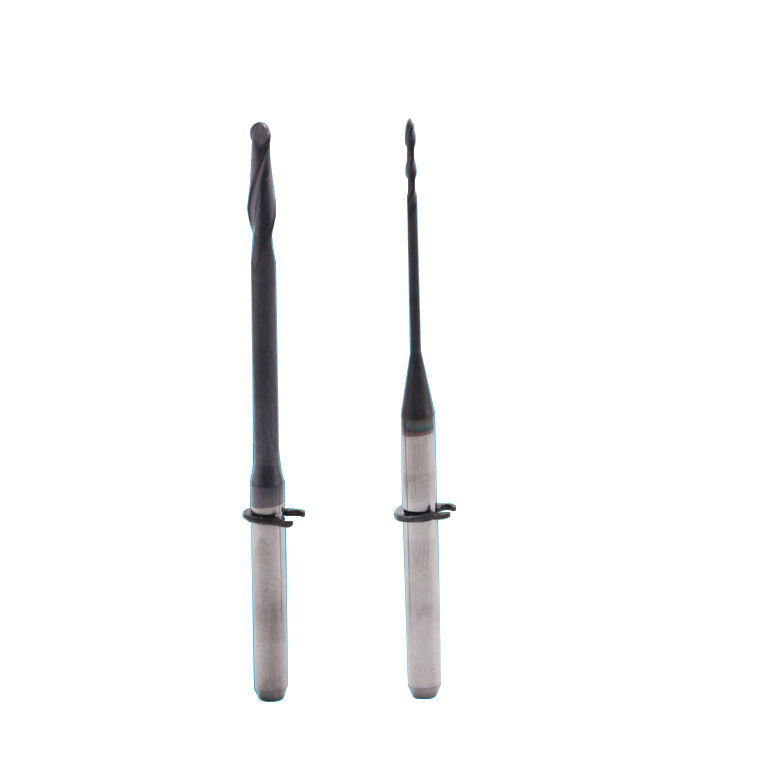
Dental CAD/CAM Milling Burs
Product Information Origin Tianjing, China Material Stainless Steel Brand MSK Applicable Machine Tools A Variety Of Options Custom Processing Yes Whether To Coat No Is It a […]
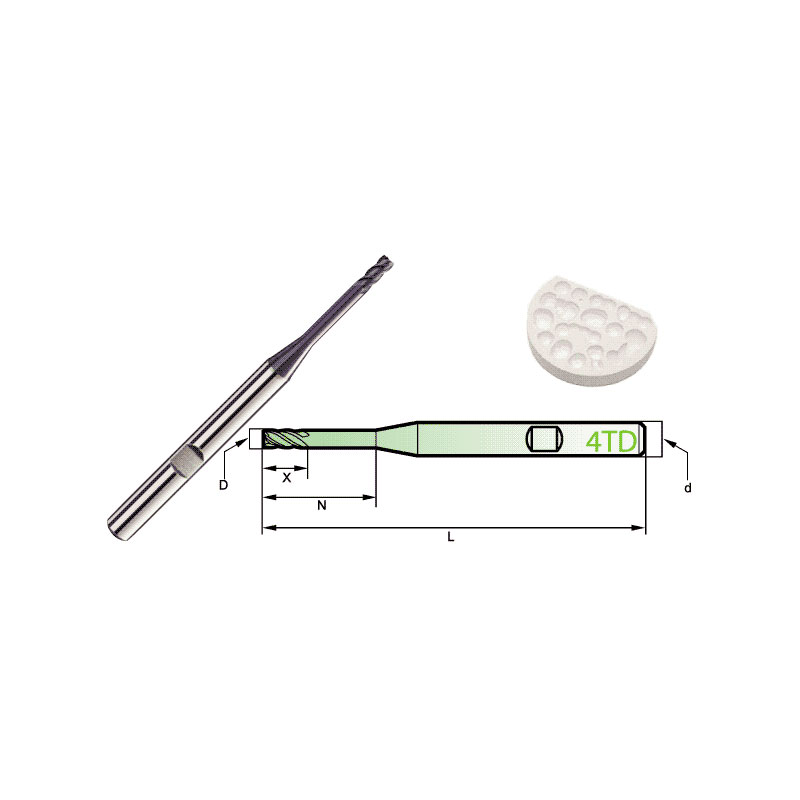
Carbide Roland CAD/CAM Burs
Product Information Origin Tianjing, China Brand MSK Number Of Blades 4 Product Name Dental Special 4-Blade End Mill Model D Number Of Blades Z X N L d 4TD2060HB 2 4 […]
Post time: 2023-07-06
