These portable yet powerful tools, known as engraving burrs, are the ideal device for sculpting intricate and accurate designs in everything from metal to wood to glass. Whether you’re working with soft or tougher materials, engraving burrs can help you create beautiful results that look professional and have a level of detail that could not be achieved with traditional methods.
Engraving burrs come in an array of designs and dimensions, each created for a special purpose. Perhaps the most commonplace of these burrs is the cone-shaped variety, used for regular engraving. Additionally, there are ball-shaped burrs which are utilized for creating circular and convex cuts, as well as flat-shaped burrs for making smooth and flush incisions.
By controlling the speed of a hand-held electric drill, the user is able to adjust and operate engraving burrs. This enables the power tool to slice through material at the desired rate.
For the most precise engravings, it is imperative to maintain a proper balance when using an engraving burr. If pressure is used too heavily, the burr will skip or scrape the material roughly. On the other hand, if the burr is used with insufficient force, then the result will be less than satisfactory.
Learn to fashion a basic design in metal sheeting with a handy engraver’s burr! Here’s how:
Start by etching your design onto the metal sheet. Visualize your lines and make them distinct as you use a pencil or permanent marker.
with your engraving burr in hand, start off by positioning it at the beginning of your design.
Apply sustained and ample force to the burr, inciting a slice into the metallic surface.
As you craft your design by means of cutting, ensure that the eroded lines are consistent with your initial sketch.
As soon as your design on the metal is complete, take away the burr and you’re done!
Carefully review your task and tweak as necessary.
Repeat the process of trial and error until the desired outcome is achieved.
Related Product
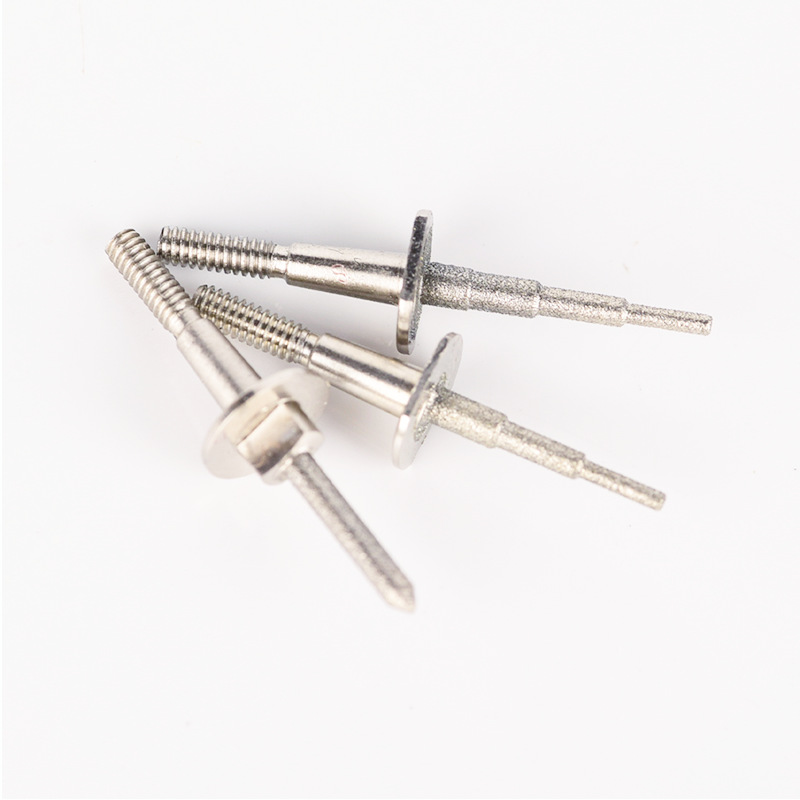
Step Bur Milling Bur Grinder for Glass Cerami
Product Information Origin Tianjing, China Shank Diameter 1.8 (mm) Brand MSK Scope Of Application CEREC3 Grinding Equipment Material Stainless Steel/Carbide Main Sales Areas […]
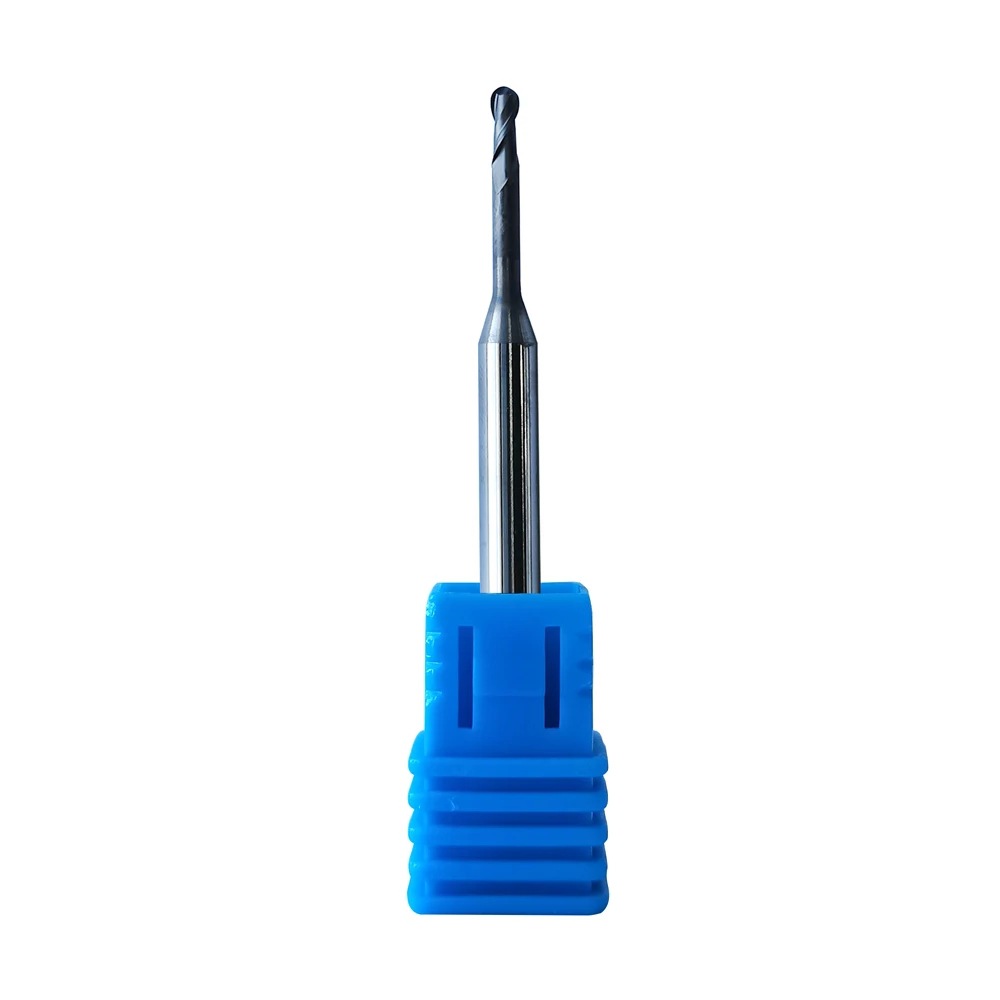
Supply Roland DLC Zirconia Burs
Product Information Origin Tianjing, China Series Dental Bur Brand MSK Cutting Edge Form 2 Blade/3 Blade Ball Diameter (Mm) 0.6, 1, 2 Material Very Fine Grained Cemented Car […]
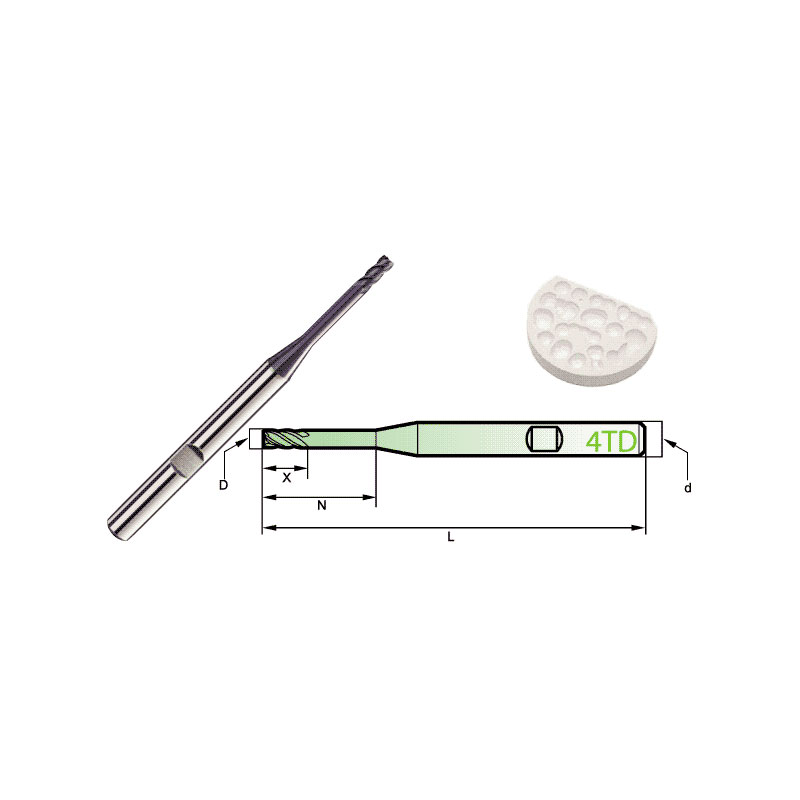
Carbide Roland CAD/CAM Burs
Product Information Origin Tianjing, China Brand MSK Number Of Blades 4 Product Name Dental Special 4-Blade End Mill Model D Number Of Blades Z X N L d 4TD2060HB 2 4 […]
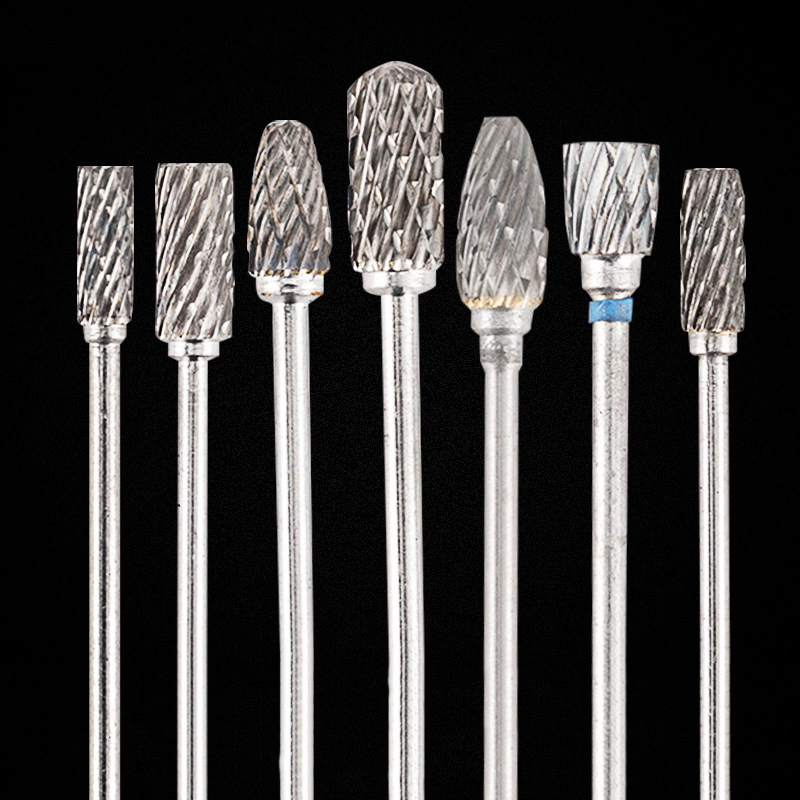
HP Deburring Carbide Burs
Product Information Brand MSK Material Tungsten Steel Model Grinding Head Custom Processing Yes Feature: The dental grinding head is made of tungsten steel with stabl […]
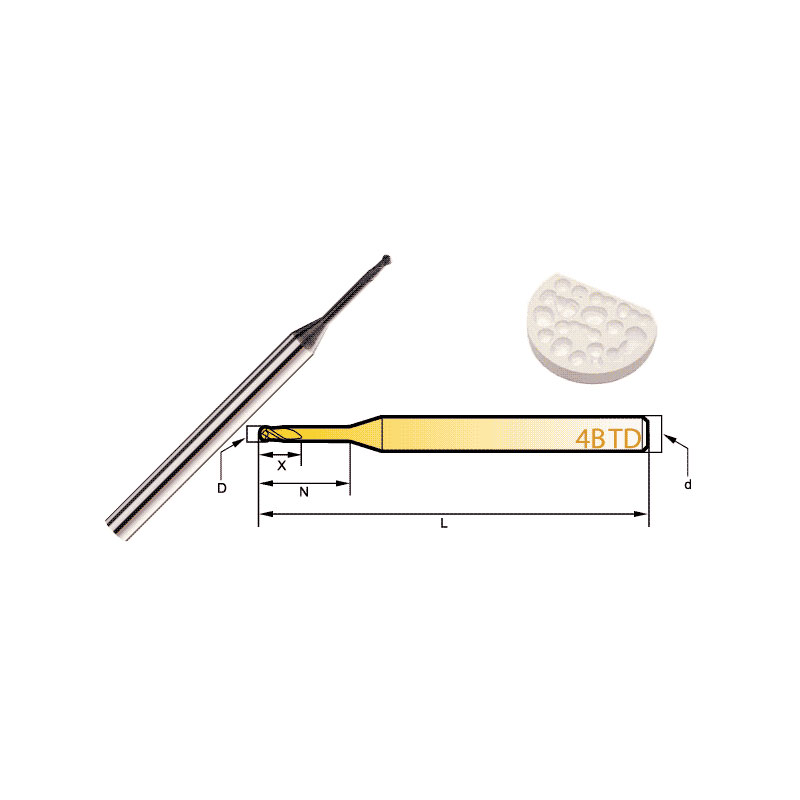
Diamond Bur Ball Round
Product Information Product Name Dental 4-Flute Ball End Mill Brand MSK Model D Number Of BladesZ X N L d 4BTD2060 2 4 6 6 50 3 4BTD2010 2 4 6 10 50 3 4BTD2016 2 4 6 […]
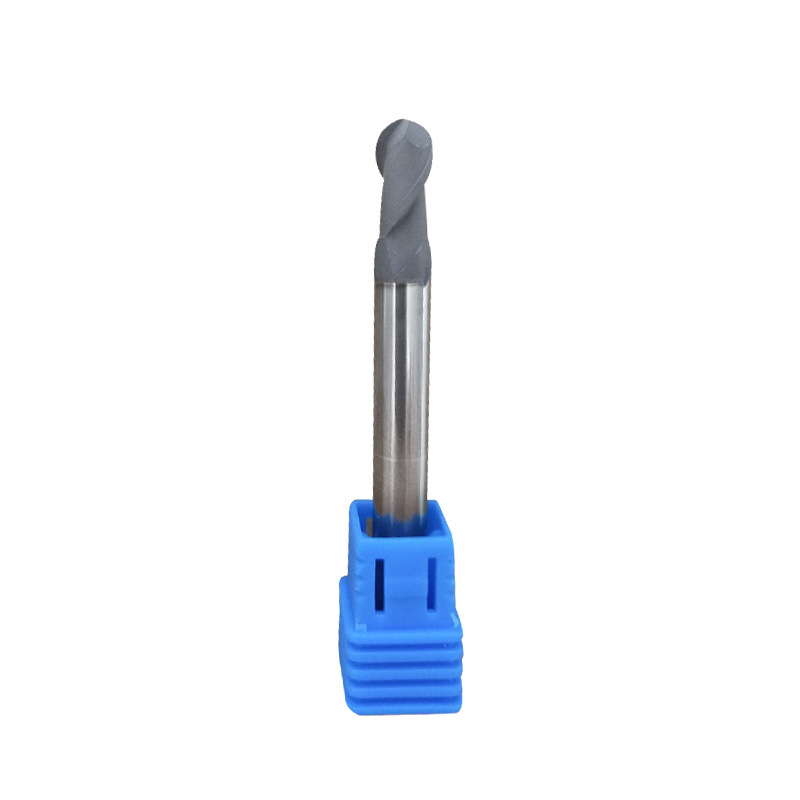
Diamond Coating Round Diamond Cutters
Product Information Origin Tianjing, China Series U Series Brand MSK Cutting Edge Form Helical Structure Ball Diameter (Mm) 3 Material Carbide Minimum Cutting Diameter At Th […]
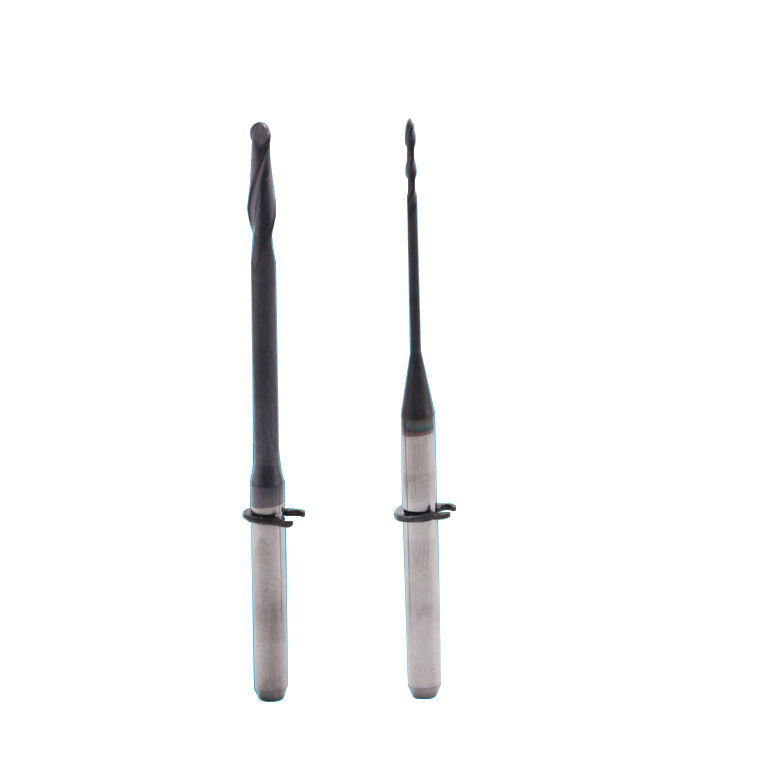
Dental CAD/CAM Milling Burs
Product Information Origin Tianjing, China Material Stainless Steel Brand MSK Applicable Machine Tools A Variety Of Options Custom Processing Yes Whether To Coat No Is It a […]
Post time: 2023-06-16
